What this guide covers
The first launch takes you through a short setup: language, account mode, currency, and your first account. Everything can be changed later, so pick reasonable defaults and start tracking.
Step 1: Choose your language
Cashtaq supports English, Arabic, Spanish, French, German, Chinese, Japanese, and Korean. Pick your language on the first screen. You can switch it any time from Settings.
Step 2: Create an account or continue as guest
- Full account: sign up to enable cloud backup, sync, and restore on new devices.
- Guest mode: pair with a host device on the same Wi-Fi network to track shared expenses. See the guest mode guide for details.
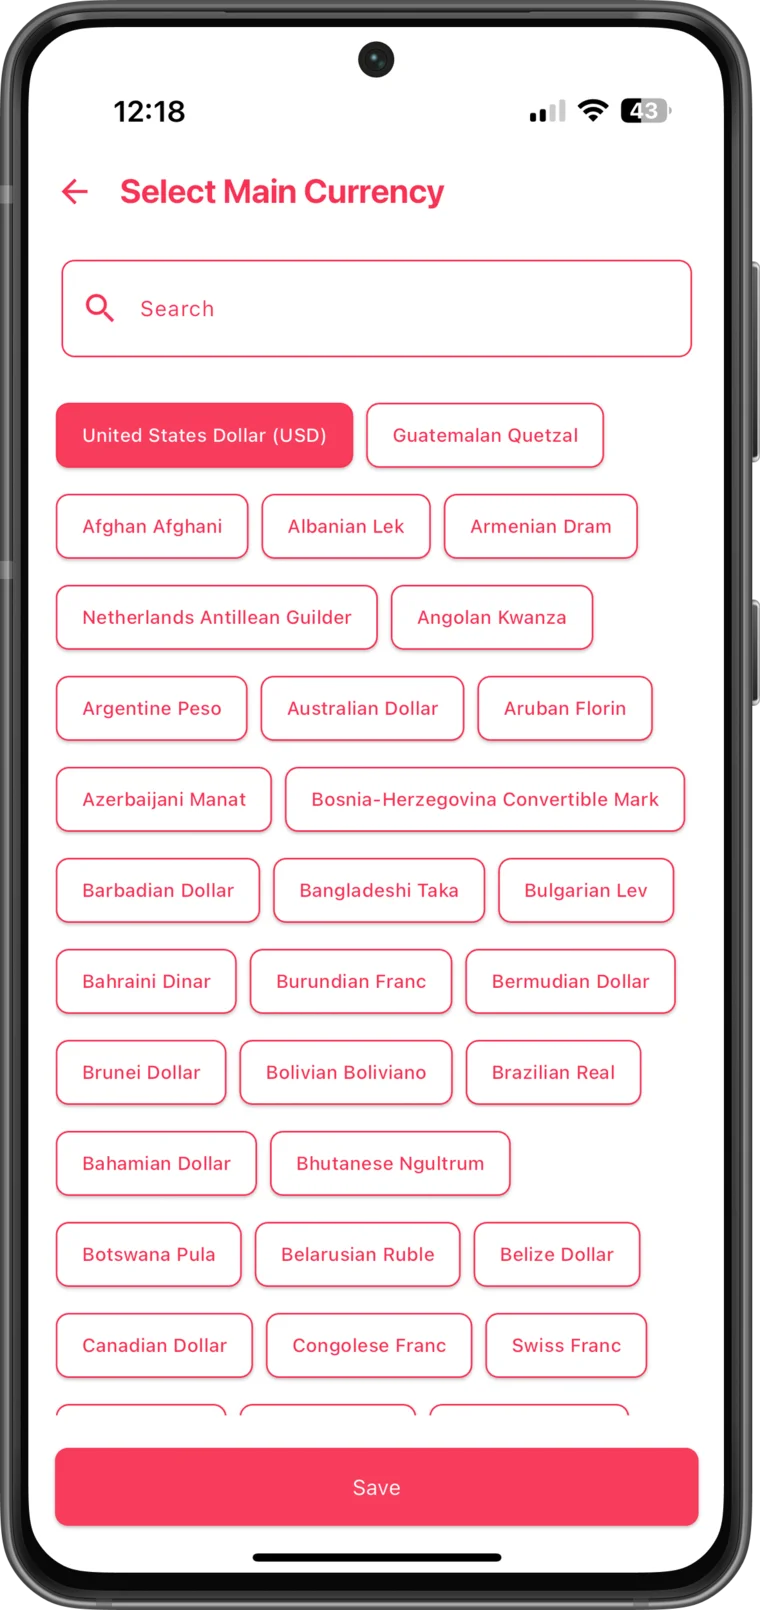
Step 3: Set your main currency
Your main currency is the default for totals, budgets, and reports. Choose the currency you think in, not necessarily the one your bank uses.
Step 4: Add secondary currencies (optional)
If you spend or save in other currencies, add them now. Cashtaq converts between them using live exchange rates, so every account can hold a different currency.
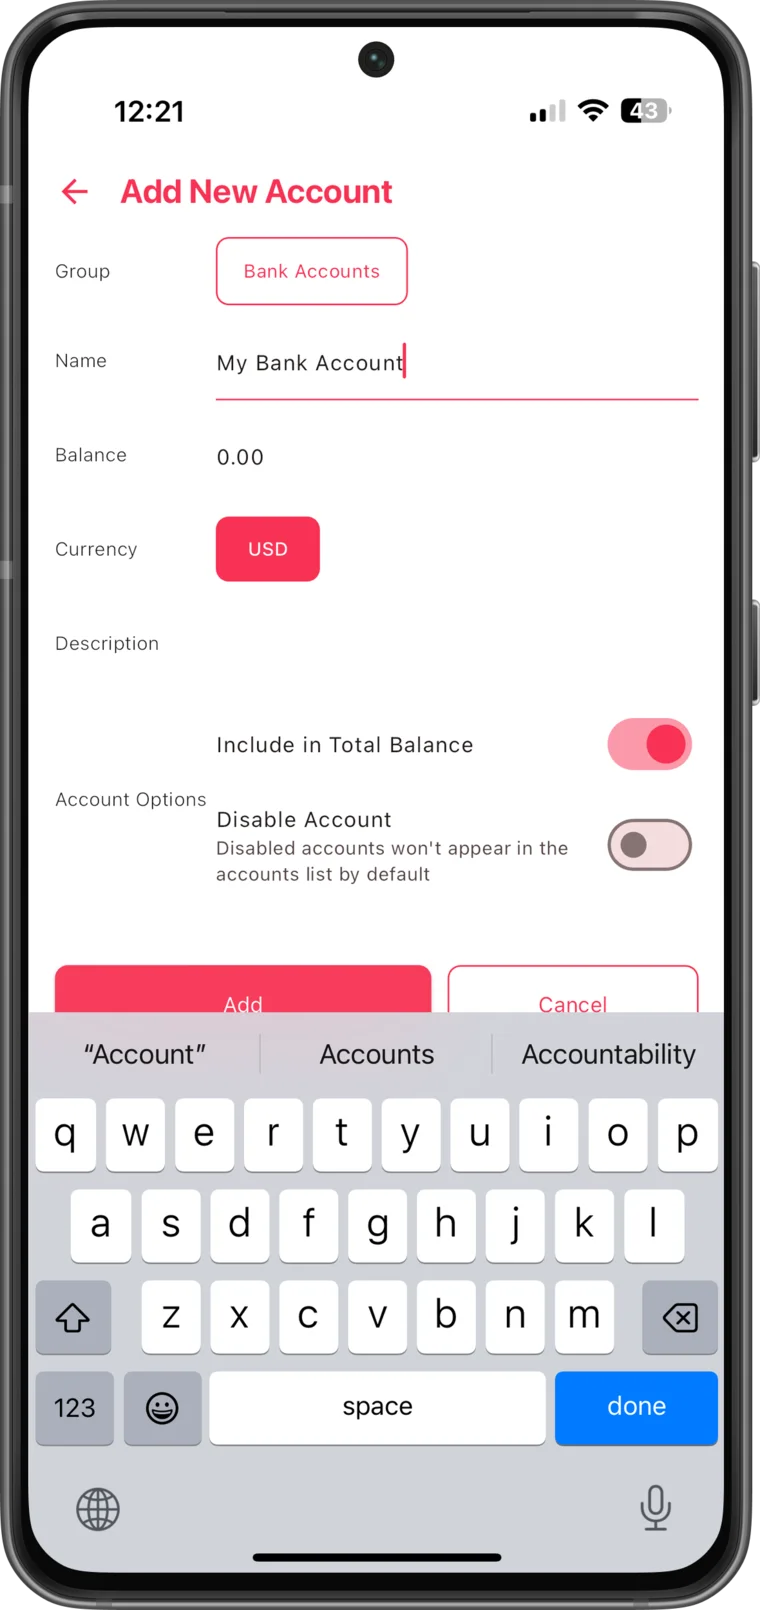
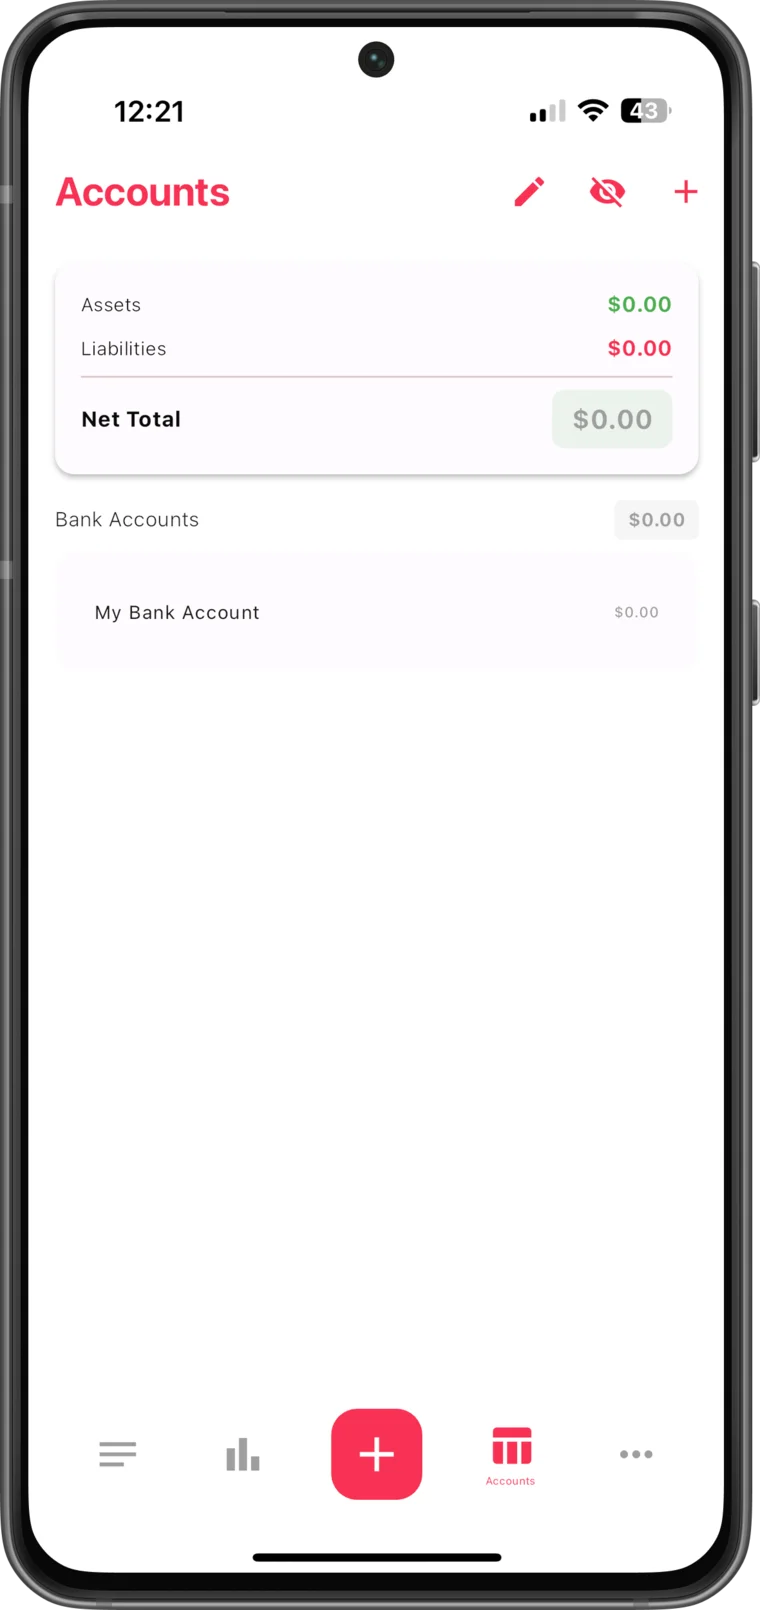
Step 5: Create your first account
Accounts represent real money locations: a bank account, cash wallet, credit card, or even a metal account for gold and silver savings. Give each a name, currency, and opening balance.
Step 6: Log your first transaction
Tap the add button, pick income or expense, enter the amount, choose a category, and save. Categories can be nested, so "Food > Groceries" is as valid as plain "Food".
Where to go next
- Set up automatic backups so your data is never lost (see the backups guide).
- Import existing history from Excel or another app (see the import guide).
- Turn on the app lock and privacy thresholds if other people sometimes see your screen.